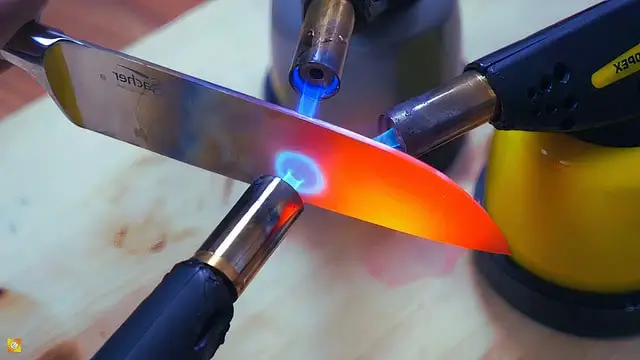
Hardening a knife blade is really important because it affects how well the knife performs and how long it lasts. When it’s done right, you end up with a tool that can be used for a lifetime and can handle many different tasks.
But when you heat-treat a blade, there are some issues that can come up, like warping and stress risers, which can cause cracks or other problems that you don’t want.
To avoid these issues, there are some things you can do before heat-treating the blade. Here are some helpful tips to keep in mind when making knives:

1. Crack Formation
- Chamfer Holes: Ensure that all holes in the blade, such as bolster, handle pins, lanyard tubes, and thumb flipper holes, are chamfered with a generous radius. This chamfering helps to distribute tensile stresses more evenly and avoids creating natural paths for cracks to develop.
- Round hole, unchamfered: 100% (no reduction in maximum stress levels).
- Round hole, chamfered 0.01″/0.254mm: 99.8%
- Round hole, chamfered 0.02″/0.508mm: 90.4%
- Round hole, chamfered 0.03″/0.762mm: 93.4% (reduction of 6.6% of stress around the hole)
- Round off edges: Smooth out hard and sharp corners along the outer or inner edges of the knife blank. This can be achieved by finishing the edges lengthways with #120 or higher grit. Perpendicular scratch patterns, especially those left by a #36 belt, can act as potential crack initiation points.
- Round corners: Incorporate fillets (radii) at the base of sharp 90-degree corners, such as slots for guards, shoulders of hidden tangs, and jimping. This helps to avoid stress concentrations that could lead to cracks.
- Logo stamps: Instead of using logo punches, which create abrupt changes in sections and can initiate cracks, consider adding your maker’s mark after heat treatment using methods like negative acid etching, electro-etching, or laser engraving.
2. Warping
- Use Sharp Tools: Blunt tools can generate excessive heat buildup during the grinding process, leading to residual stresses in the blade. Sharpen drill bits and use cutting fluid. Ensure the use of fresh belts when grinding to minimize stress.
- Pre-grinding: If you choose to pre-grind bevels, cutting edge 45s, or handle scalloping, ensure that the material is removed evenly on both sides to maintain balance and prevent warping.
- Cutting Edge Thickness: When pregrinding blade bevels, leave at least 1mm of thickness on the cutting edge. This is especially important for oil-quenched blade steels to withstand the violent quenching process and prevent warping in a wave pattern.
- Straight Blanks: Before initiating the heat treatment process, check the straightness of the blade and correct any bends or deformities present. Starting with a straight blade increases the likelihood of achieving a straight final product.
3. Safety
- Deburr: Prioritize your safety by removing any burrs or sharp edges on the blades. This step not only protects you during handling but also enhances the overall quality of the finished product.
With these measures into your knife-making process, you can significantly reduce the occurrence of issues, minimize returns, and ensure greater satisfaction among your clients.
While these steps cannot guarantee the complete elimination of issues, they serve as valuable guidelines to enhance the overall quality and durability of your knife blades.
Remember to continually test and refine your designs over time to address any potential stress risers or issues that may arise.
